This project is rated as: EASY
Materials needed: Computer paper, crayons (or colored pencils or paint), craft knife (or paper cutter or scissors)
Two Valentine projects are provided:
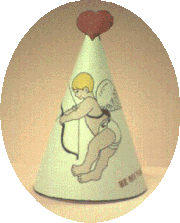
If you have a color printer, you can show a pre-colored image of the Valentine cone and then print it.
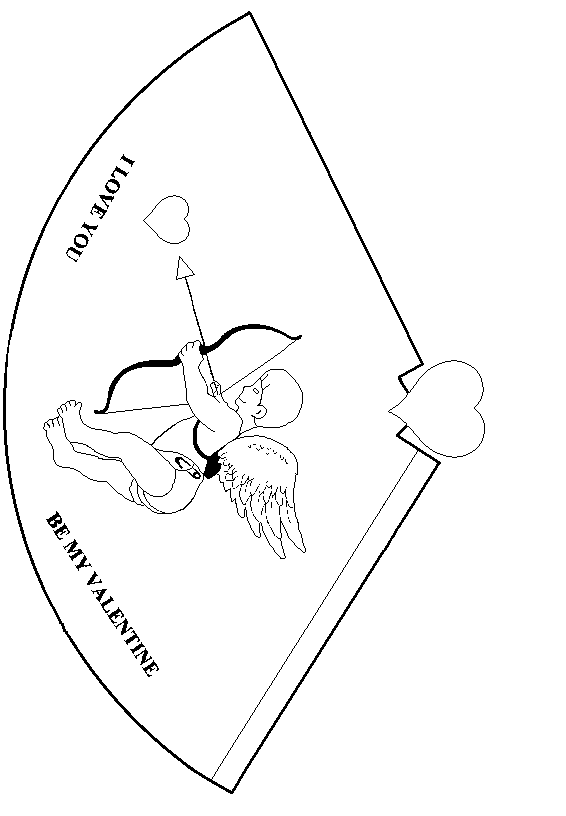
If you do not have a color printer (or prefer to do your own coloring,) you can show a black and white Valentine cone, print it, and then color it yourself with crayons, paint, or colored pencils.
In either case, cut out the cone alone the outer black edges. Then roll the cone into an approximate cone shape. (It is easier to glue if some shaping is done first.) The right edge of the ornament has a dashed line parallel to the right edge. The area between the dashed line and the right edge of the ornament is called the glue tab. Apply glue to the glue tab. Now, complete the cone by bringing the glue tab under the left edge and press the two edges together with the left edge along the dashed line. You may need to hold the edges together until the glue dries.
You can use the ornament for a Valentine's Day decoration for yourself, or you may want to give it to someone as a gift.
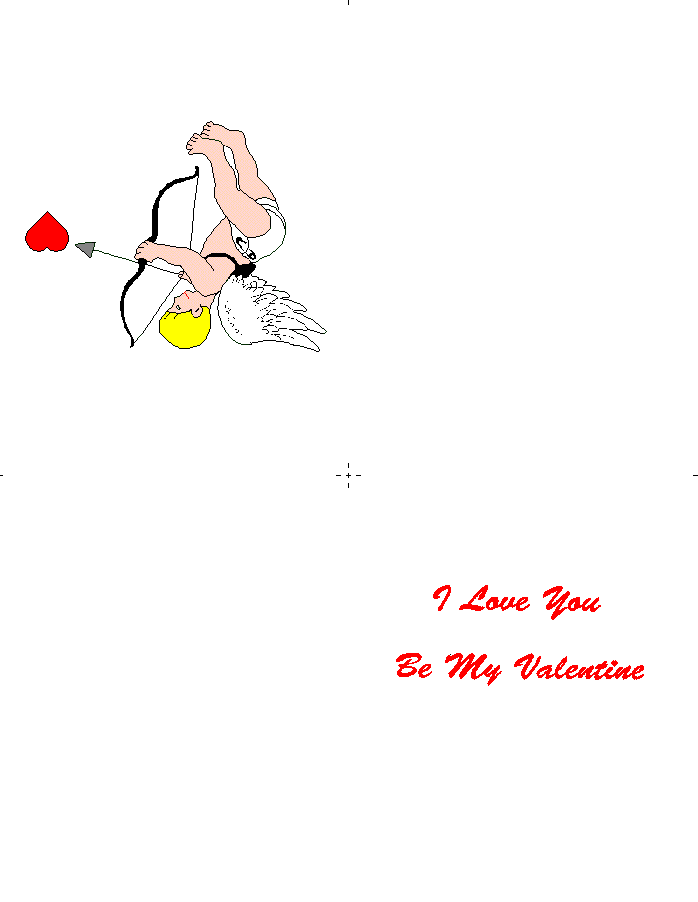
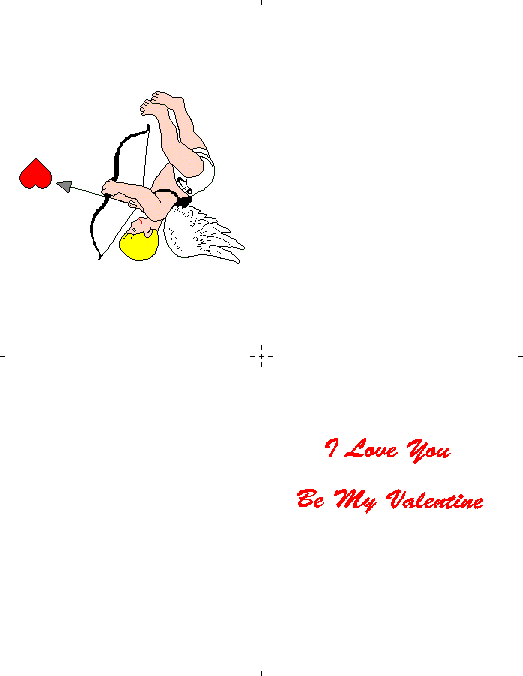
If you have a color printer, you can show a pre-colored image of the Valentine card and then print it.
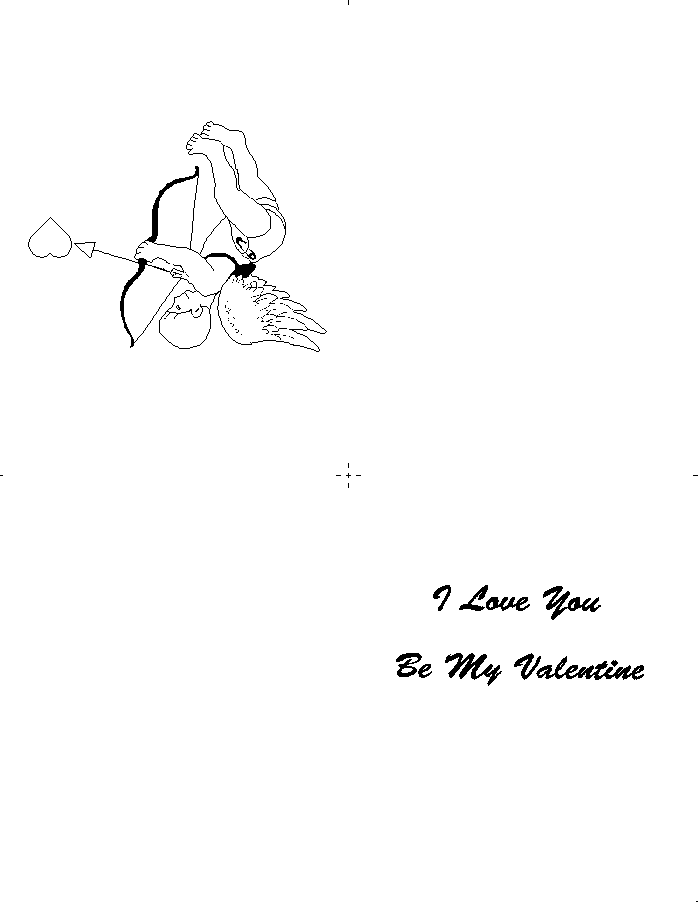
If you do not have a color printer (or prefer to do your own coloring,) you can show a black and white Valentine card, print it, and then color it yourself with crayons, paint, or colored pencils.
After printing the card from your browser (and coloring it,) it is time to fold it. You will notice some fiducial marks (a cross in the center of the page and some dashes near some edges.)
First, trim away the right edge of the card so that the card is 3.5 inches wide.
Next, trim away the bottom edge of the card so the card is 5.0 inches tall.
You now have a completed card. It will fit into a standard envelope. Write a message (if you want) on the inside, sign it, put it in an envelope and mail it to your loved one.
Some users may find that their browser prints the desired image too large or too small. The image was designed to be printed at 96 dots per inch (dpi). Your browser may print at 72 dpi (MacIntosh), or at 120 dpi or maybe some other value. You may be able to select the printing dpi in your browser. Special images, color and b & w, are provided for MacIntosh users.
If you have a problem with image size, you may take this alternative approach. Display the image you want to use. Instead of printing it, position your cursor on the image, then click the right button on your mouse. This will give you the option of saving the image to a file. Once you have a copy of the image, you can use your graphics software to resize it, add other elements to it, etc. Then you can print it.
Have fun with these projects!
Return to Bob Stuff Holiday Crafts
Check out Aunt Annie's Crafts at:
http://www.auntannie.com/