This project is rated as EASY to MODERATE.
Materials needed: Computer paper (or card stock), scissors, colored pencils (or crayons, or paint), glue (or paste), laminating sheets (optional)
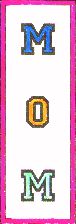
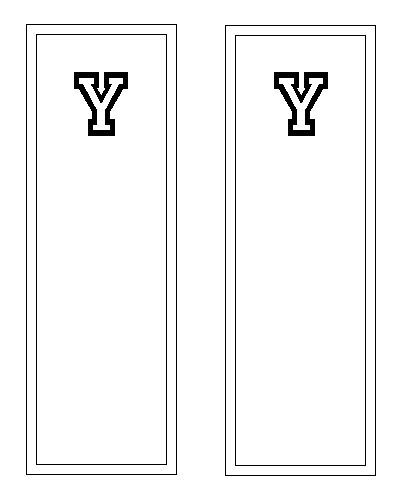
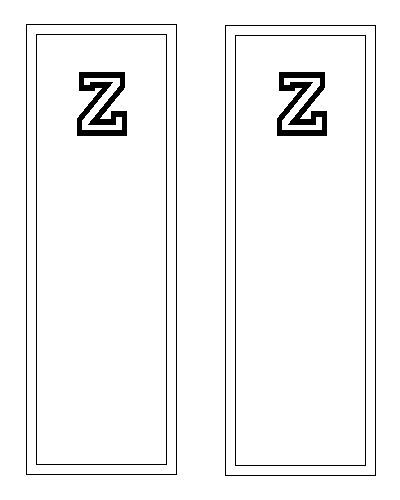
In this project, you are going to make a two sided, personalized, bookmark which will contain up to three letters. Usually, the three letters will be a person's initials, however, if you prefer, it could be a three letter name such as: "PAT."
In order to provide a means to have any combination of three letters, it will be necessary to print the bookmark in three passes through the printer, one pass for each letter.
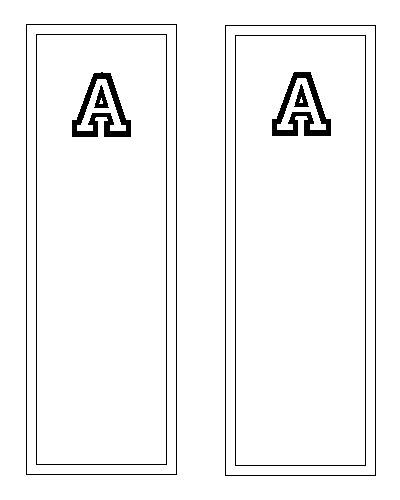
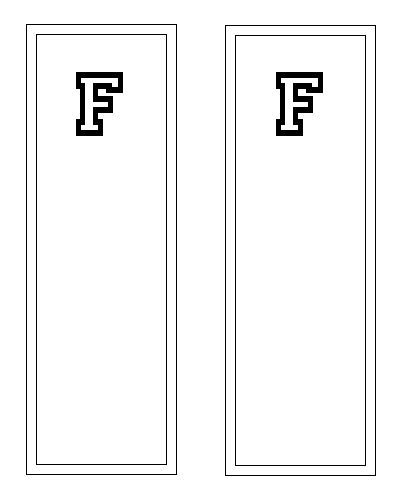
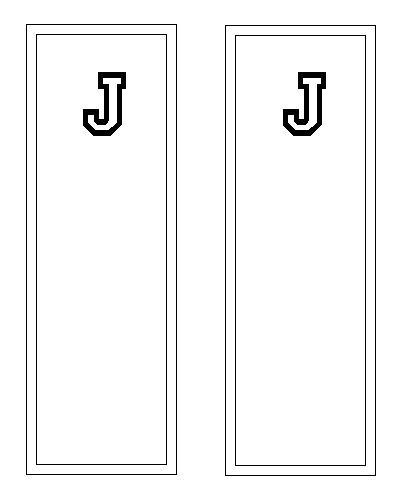
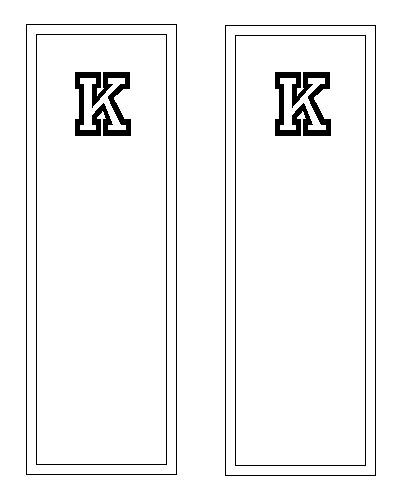
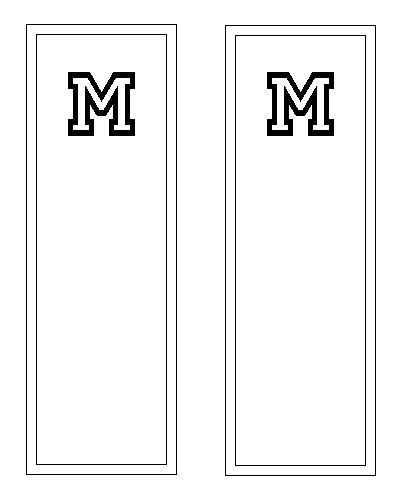
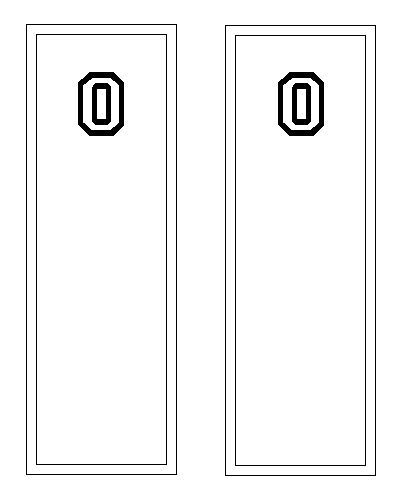
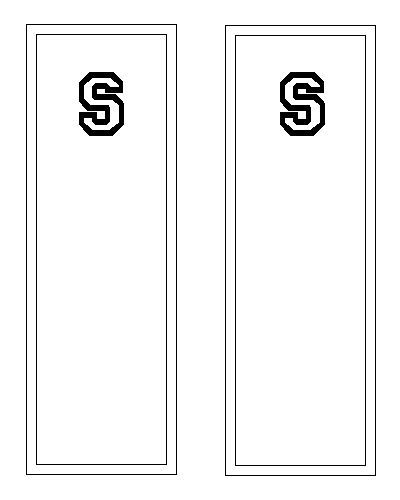
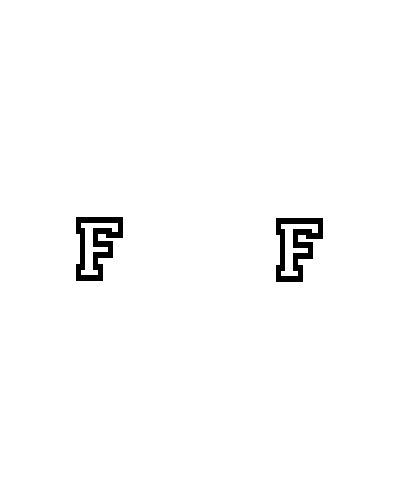
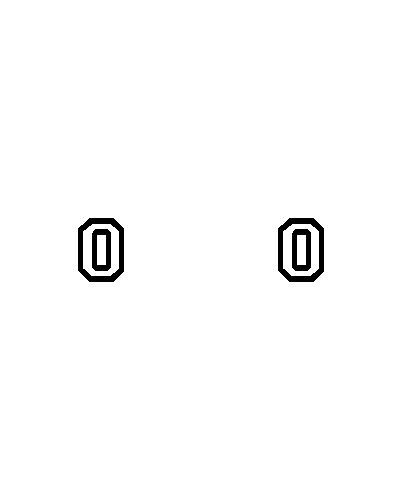
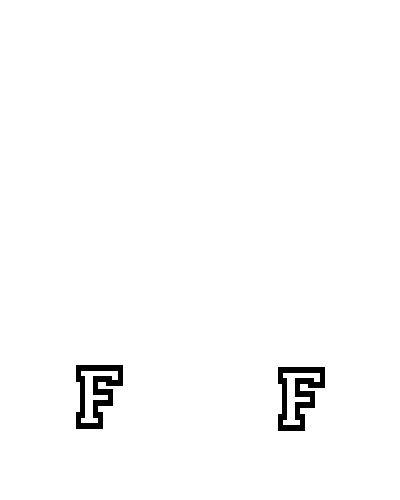
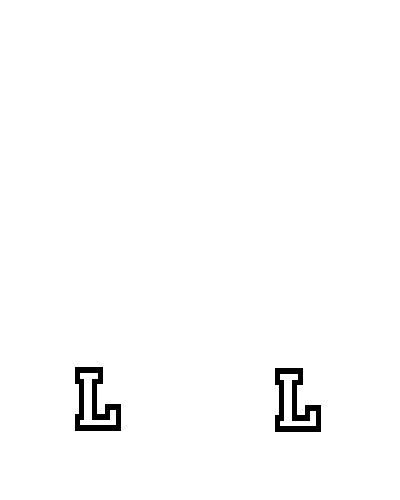
Select the first letter (It will also include the border) from the following choices. The letter will be displayed and it may be printed from your browser. After printing, return to this page using the "back" arrow of your browser.
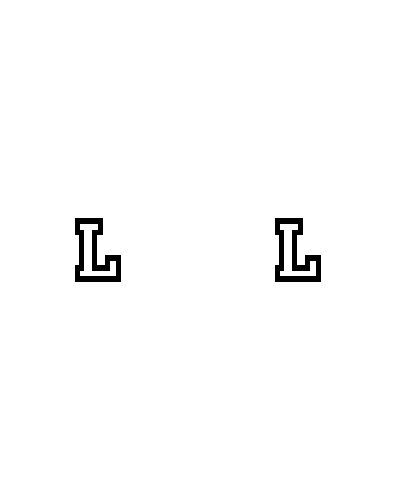
A - B- C- D- E- F- G- H- I- J- K- L- M- N- O- P- Q- R- S- T- U- V- W- X- Y- Z
(Tip: If your printer has a sheet feeder, start with just a single sheet of paper (or card stock.) If you have a tractor feed, before you start, note how the paper is initially positioned.)
After printing the first pass, put the printed page back in the input tray. If you are using a tractor feed, roll the paper backwards and position the paper exactly how it was positioned originally.
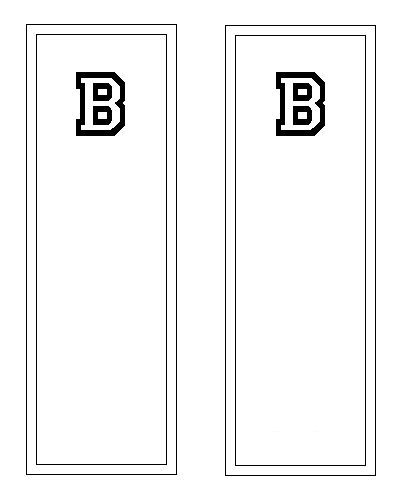
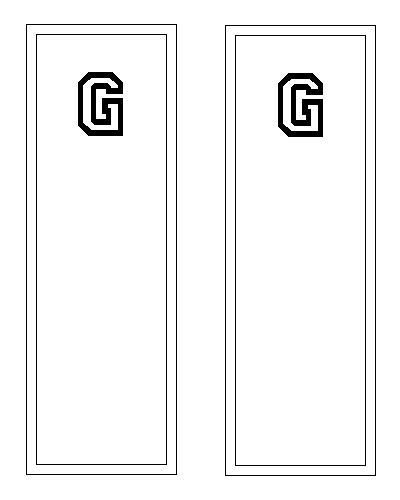
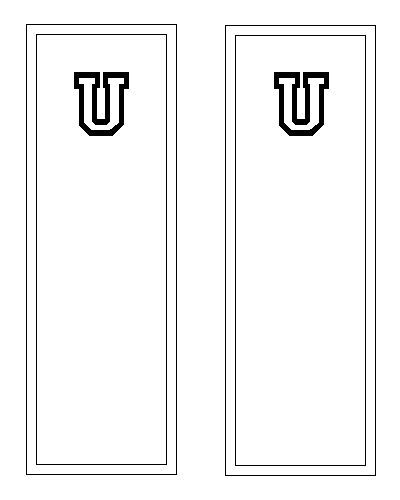
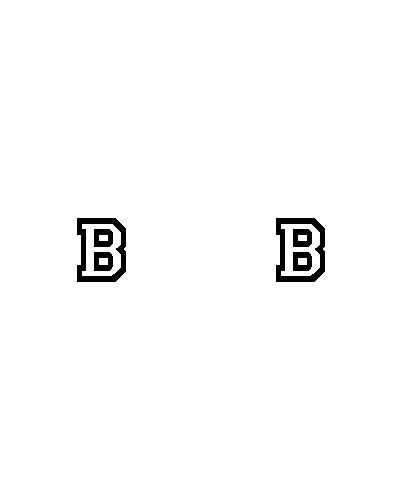
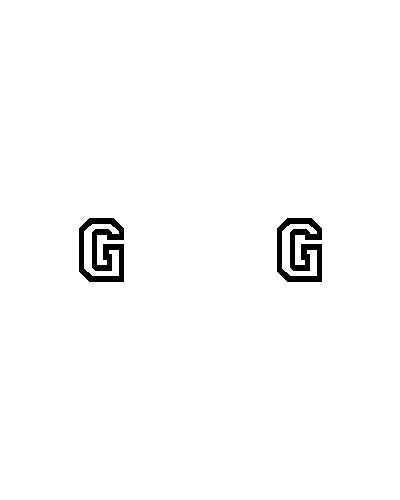
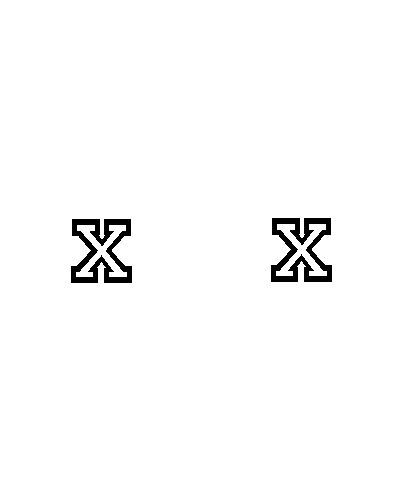
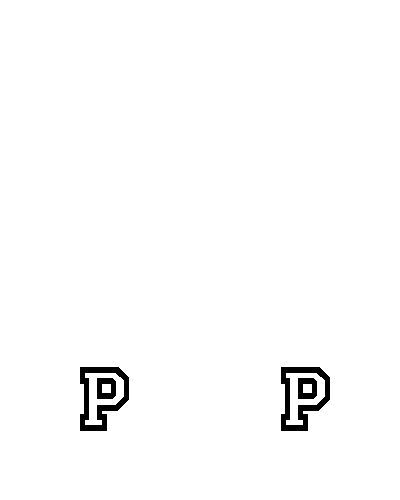
Select the second letter from the following choices.
A -B -C -D -E -F -G -H -I -J -K -L -M -N -O -P -Q -R -S -T -U -V -W -X -Y -Z
After printing the second pass, put the printed page back in the input tray (or if using a tractor feed, roll the paper back as before.) Return to this page using the "back" arrow of your browser.
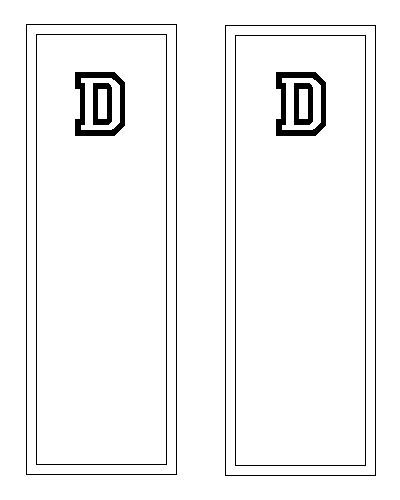
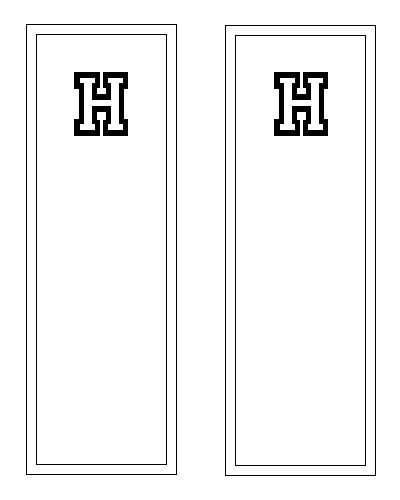
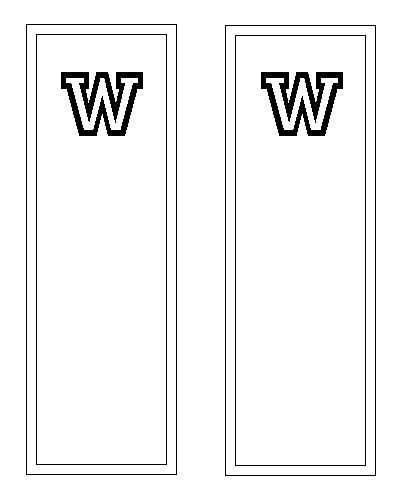
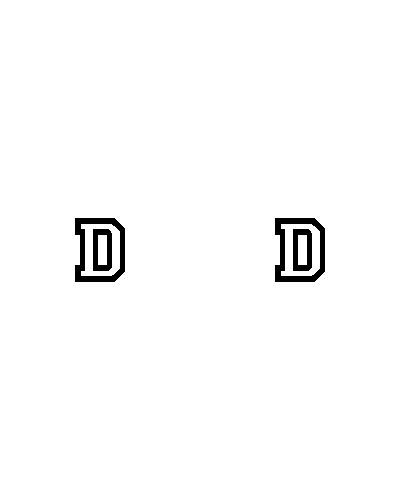
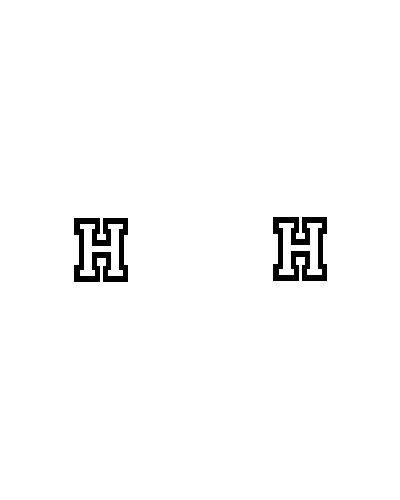
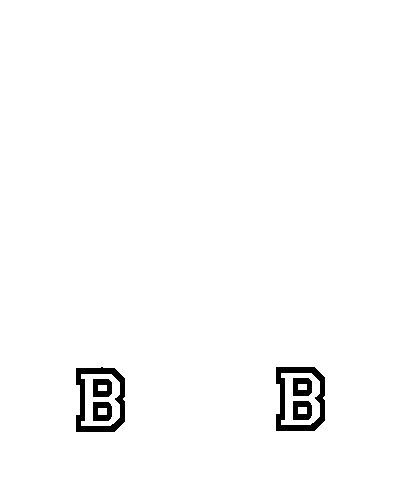
Select the third letter from the following choices.
A -B -C -D -E -F -G -H -I -J -K -L -M -N -O -P -Q -R -S -T -U -V -W -X -Y -Z
After printing, return to this page using the "back" arrow of your browser.
You will now have a black and white image of your bookmark.
Color it to suit your own tastes.
Cut out the bookmark outside of the border lines allowing about a quarter inch margin. Do not cut the two halves apart!
Fold the bookmark.
Glue the two halves together.
You now have a completed bookmark. If you want to make it more durable, you can laminate it between two pieces of self adhesive laminating sheets. These laminating sheets can be purchased at an office supply store.
Cut out two pieces from a laminating sheet. The dimensions should be about one-half inch larger in width and height than your book mark.
Remove the protective backing from one piece.
With the adhesive side up, place your bookmark, centered, on the sheet.
Remove the protective backing from the second piece.
Place it, adhesive side down, on the bookmark.
Press the sheets together around the edges.
If you did not get the sheets perfectly aligned, the quarter inch border is adequately large enough to allow for some trimming.
If you have a color printer and want to do your coloring on the computer, you can copy the necessary images to disk and then use a graphic package to do the coloring. Windows includes PAINT, which is a graphics program. To copy the images to disk, open each image as described above. But instead of printing, click the right button on your mouse. You will be given several options, one of which is to save the image to disk. The images are in JPG format. Some graphics packages cannot read JPG images. If that is true in your case, the image can be saved as a BMP image which all graphics packages can handle.
Open your graphics software and then open the first image. The other two images can be added by using the "Paste from" option. Once you have all three of your letters showing, you can add colors, etc., and then print.